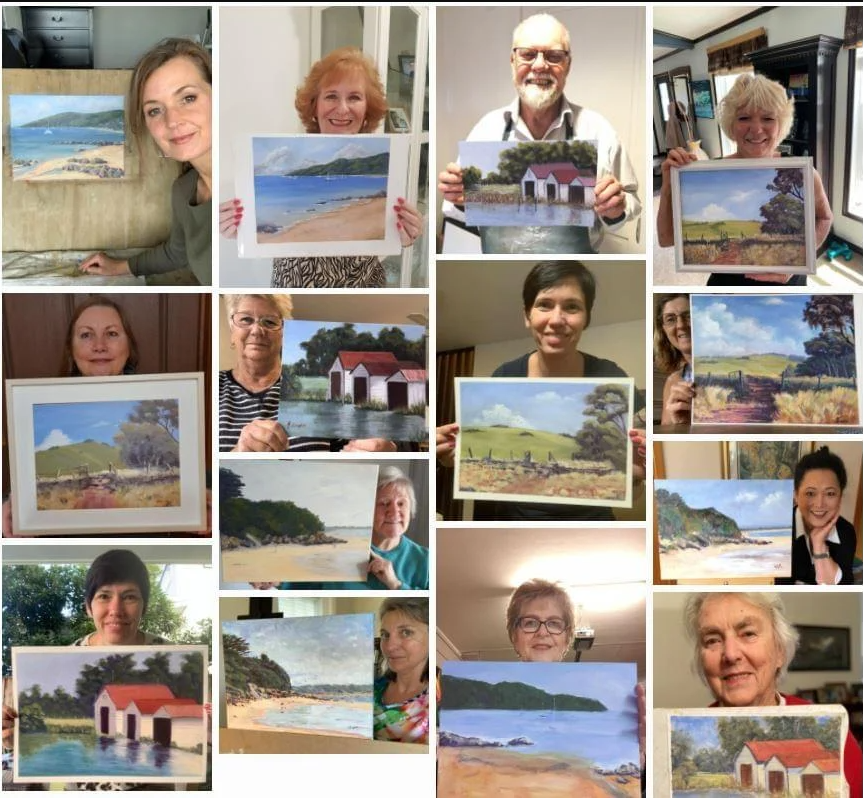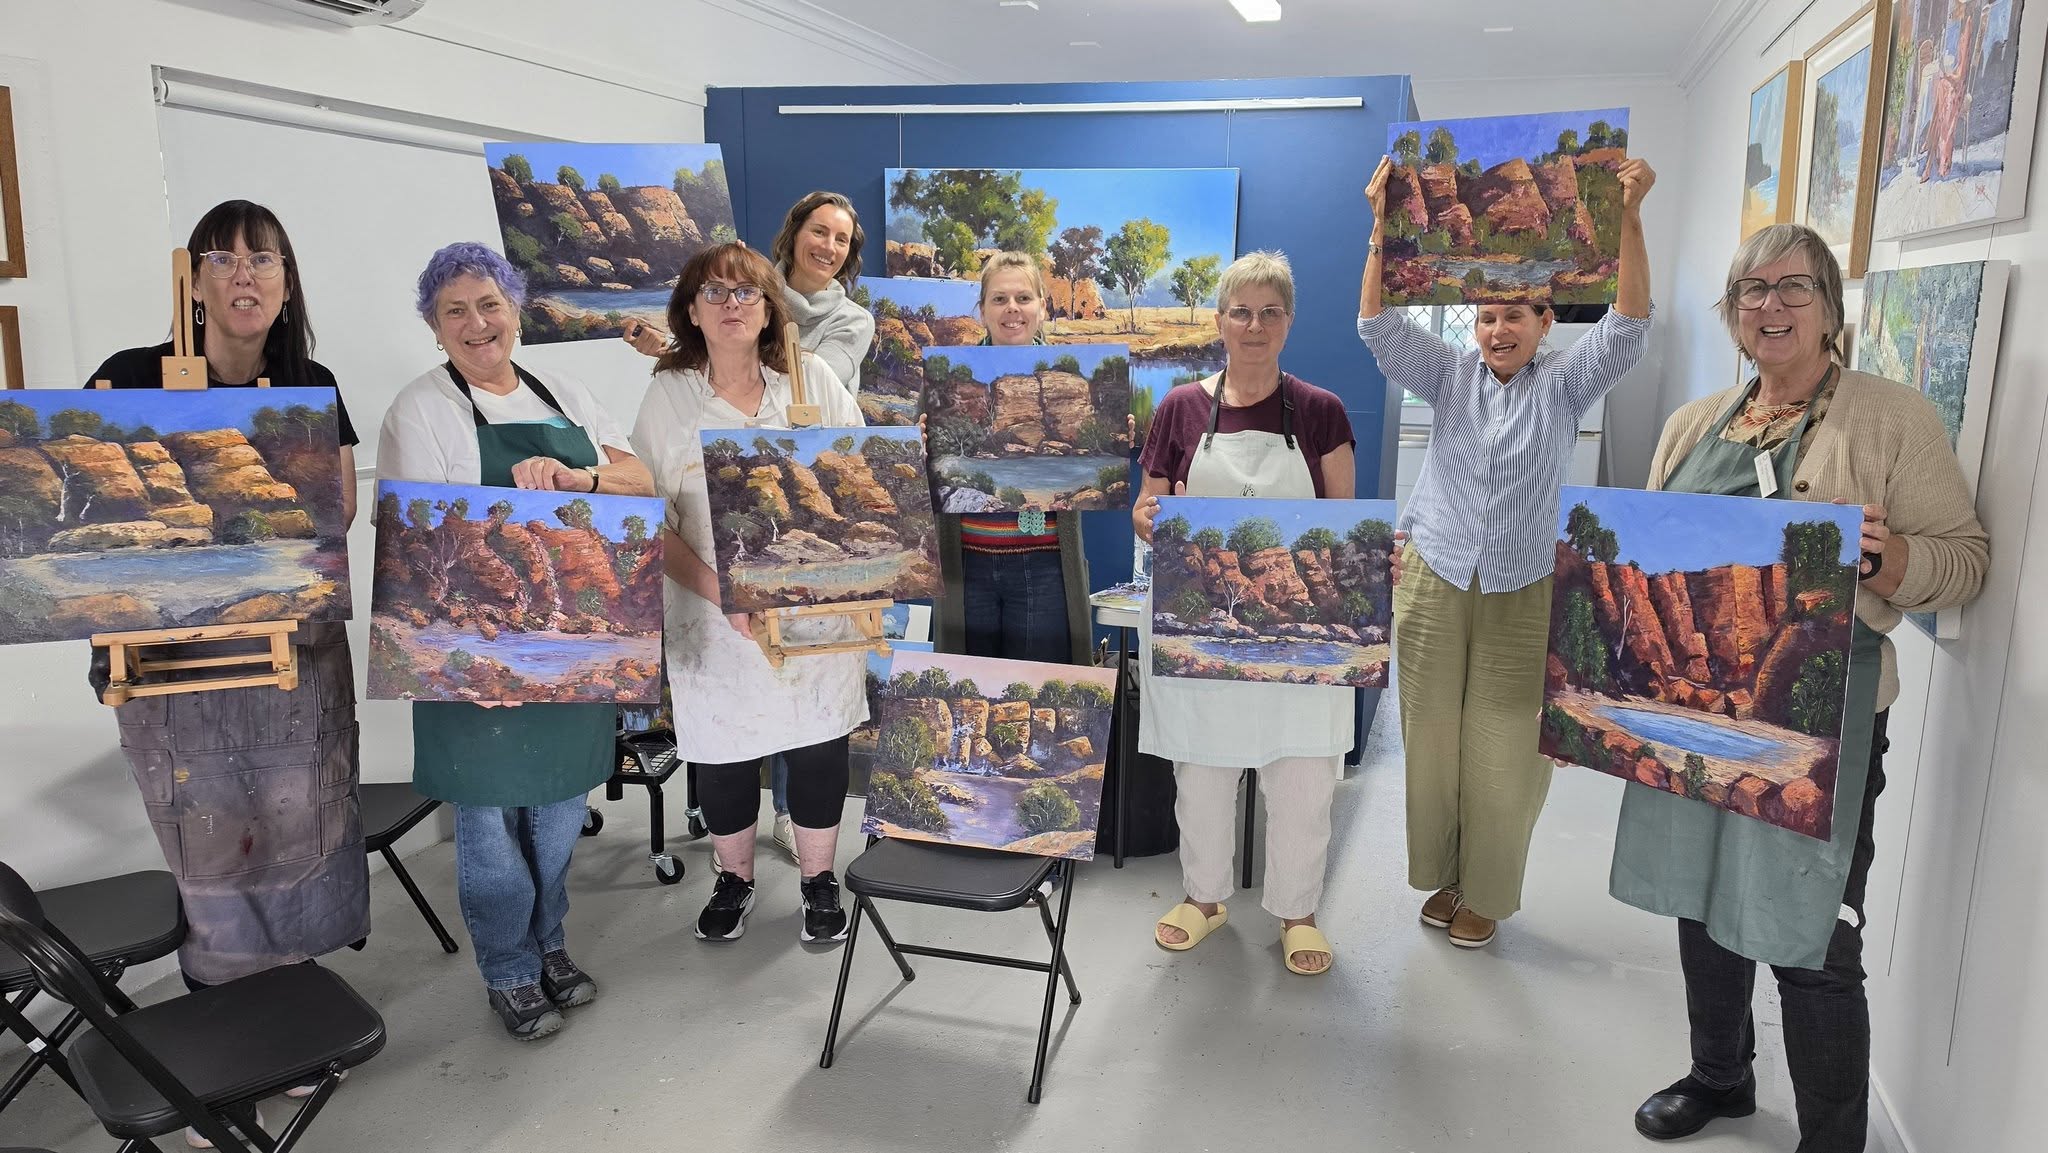
Landscape Painting for Beginners: A Simple Step-by-Step Guide
If you have ever stood in front of a beautiful view and thought, "I'd love to be able to paint that," you are in exactly the right place.
Landscape painting for beginners doesn't have to be complicated. In fact, the biggest reason most people struggle is not a lack of talent. It's that nobody has ever given them a clear process to follow. They sit down with too many colours, too many brushes and a reference photo full of detail, and they have no idea what to do first, second or third.
I know that feeling well, because I started painting as an adult beginner myself. My first attempts involved a box of 32 colours and 15 brushes I had no idea how to use. Everything changed for me when I stopped looking for more techniques and started following a simple, repeatable process. That process became the Moore Method of Painting, and it's what I'll walk you through in this guide.
By the end, you'll know what you need, how to paint a landscape step by step, how to create depth and atmosphere, and which beginner mistakes to avoid. So grab a cuppa and let's have a go.
Why Landscapes Are a Great Place to Start
For beginners, I always recommend landscapes and seascapes as the place to start. They give you freedom and room for expression, and they teach you the core skills every painter needs: composition, perspective and colour mixing.
A landscape is also wonderfully forgiving. Nobody will notice if your gum tree has one branch more than the real one, or if your hill sits a little lower than it does in the photo. That freedom takes the pressure off. It lets you concentrate on what matters most: big shapes, light and dark, and a sense of space.
And once you understand how to paint a simple landscape, the same process carries over to seascapes, still life and even figurative work.
What You Need to Start Landscape Painting
One of the biggest traps for beginners is buying too much. Walk into an art supply shop and you'll find hundreds of colours, brushes, mediums and gadgets. You don't need most of it. Simplicity is your friend.
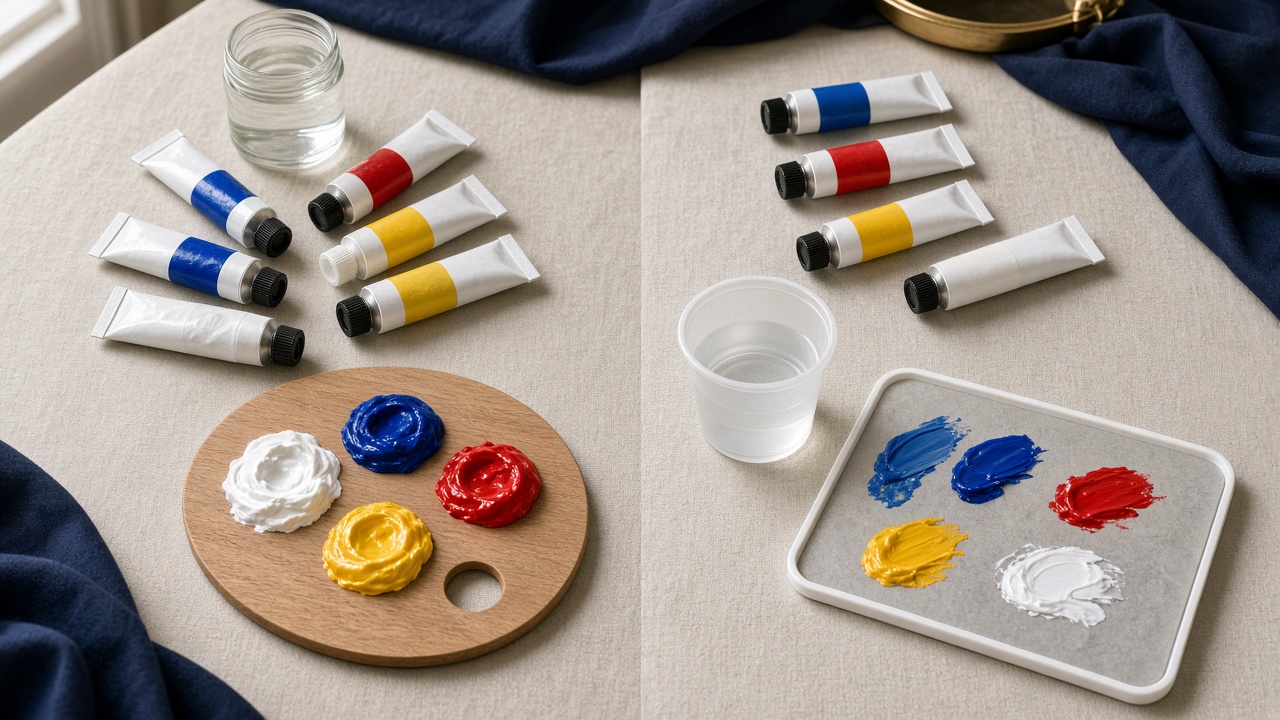
Paint: oils, water-mixable oils or acrylics
All the projects I teach can be painted in oils, water-mixable oils, acrylics or gouache, so choose the medium that suits you.
Oils stay wet for a long time, which gives you time to blend and adjust.
Water-mixable oils behave much like oils but clean up with water, so you don't need solvents.
Acrylics dry quickly and clean up with water. They're great for building layers fast, but you need to work a bit quicker.
A limited palette
Start with a small number of colours plus white. A limited palette makes colour mixing much easier to learn, keeps your painting harmonious and saves you money. The Moore Method starts with just three colours on the palette, and you'll be amazed how many landscape colours you can mix from them.
Just a few brushes
You don't need 15 brushes. The Moore Method uses just three. As a general guide, a larger brush for blocking in the big shapes, a medium brush for developing forms and a smaller one for the final touches will cover almost everything in a beginner landscape.
A surface, a palette and some rags
A small canvas board or stretched canvas is perfect to start with. Smaller sizes are quicker to cover and less daunting. Add a palette, a palette knife for mixing, paper towel or rags, and you're ready.
One more tip: squeeze out plenty of paint. Not putting out enough paint is the most common issue I see in workshops. You can read more about it in Five Ideas That Will Improve Your Painting.
How to Paint a Landscape Step by Step
Here's the process I teach. The original Moore Method has three steps: Drawing and Design, Blocking In and Refinement. As your skills grow, it expands into five stages that show you more clearly what happens inside each step. For a first landscape, I'll use the five stages because they give you a clear checklist.
Step 1: Choose a good subject
A successful painting starts before the brush touches the canvas. Not every beautiful photo makes a good painting. As a beginner, look for a scene with:
a clear centre of interest (a tree, a boat, a building or a bright patch of light)
a few strong, large shapes
a readable pattern of lights and darks
a sense of depth, with a foreground, middle ground and background
Then ask yourself one question: what is it about this scene that makes me want to paint it? Is it the light? The atmosphere? A dark headland against a bright sky? Your answer is the idea of your painting. Every decision that follows should support it.
Step 2: Simplify into big shapes and place them
Nature and photographs contain far too much information. Your job is not to copy everything you see. It's to organise the scene into a small number of useful shapes.
Look for the largest shape, the main dark mass, the main light mass, the horizon line and your focal area. Then draw those shapes onto the canvas with a brush and thin paint. Where is the horizon? How much of the painting belongs to the sky?
You can move, enlarge, shrink or leave out elements from your reference. That isn't cheating. It's painting. The reference gives you the raw material, and you, the artist, create the design.
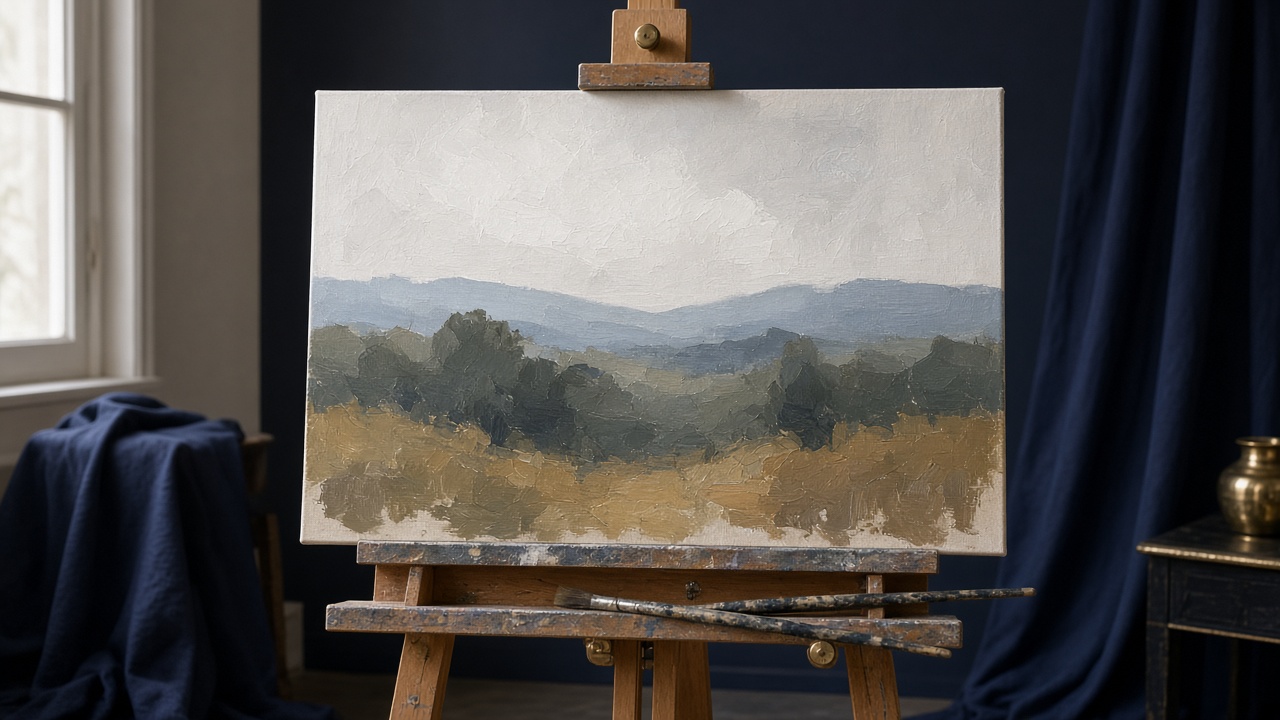
Step 3: Block in the values and colours
Now cover the canvas with the major shapes, working from large to small. Use your biggest brush and leave out the details.
As you block in, think about:
the largest light and dark masses
warm and cool areas
foreground, middle ground and background
which way the light is coming from
When you stand back, the painting should already read clearly from across the room, even though it still looks rough. Here's something I tell every student: if the painting doesn't work at the block-in stage, adding detail will rarely save it. Get the big relationships right first.
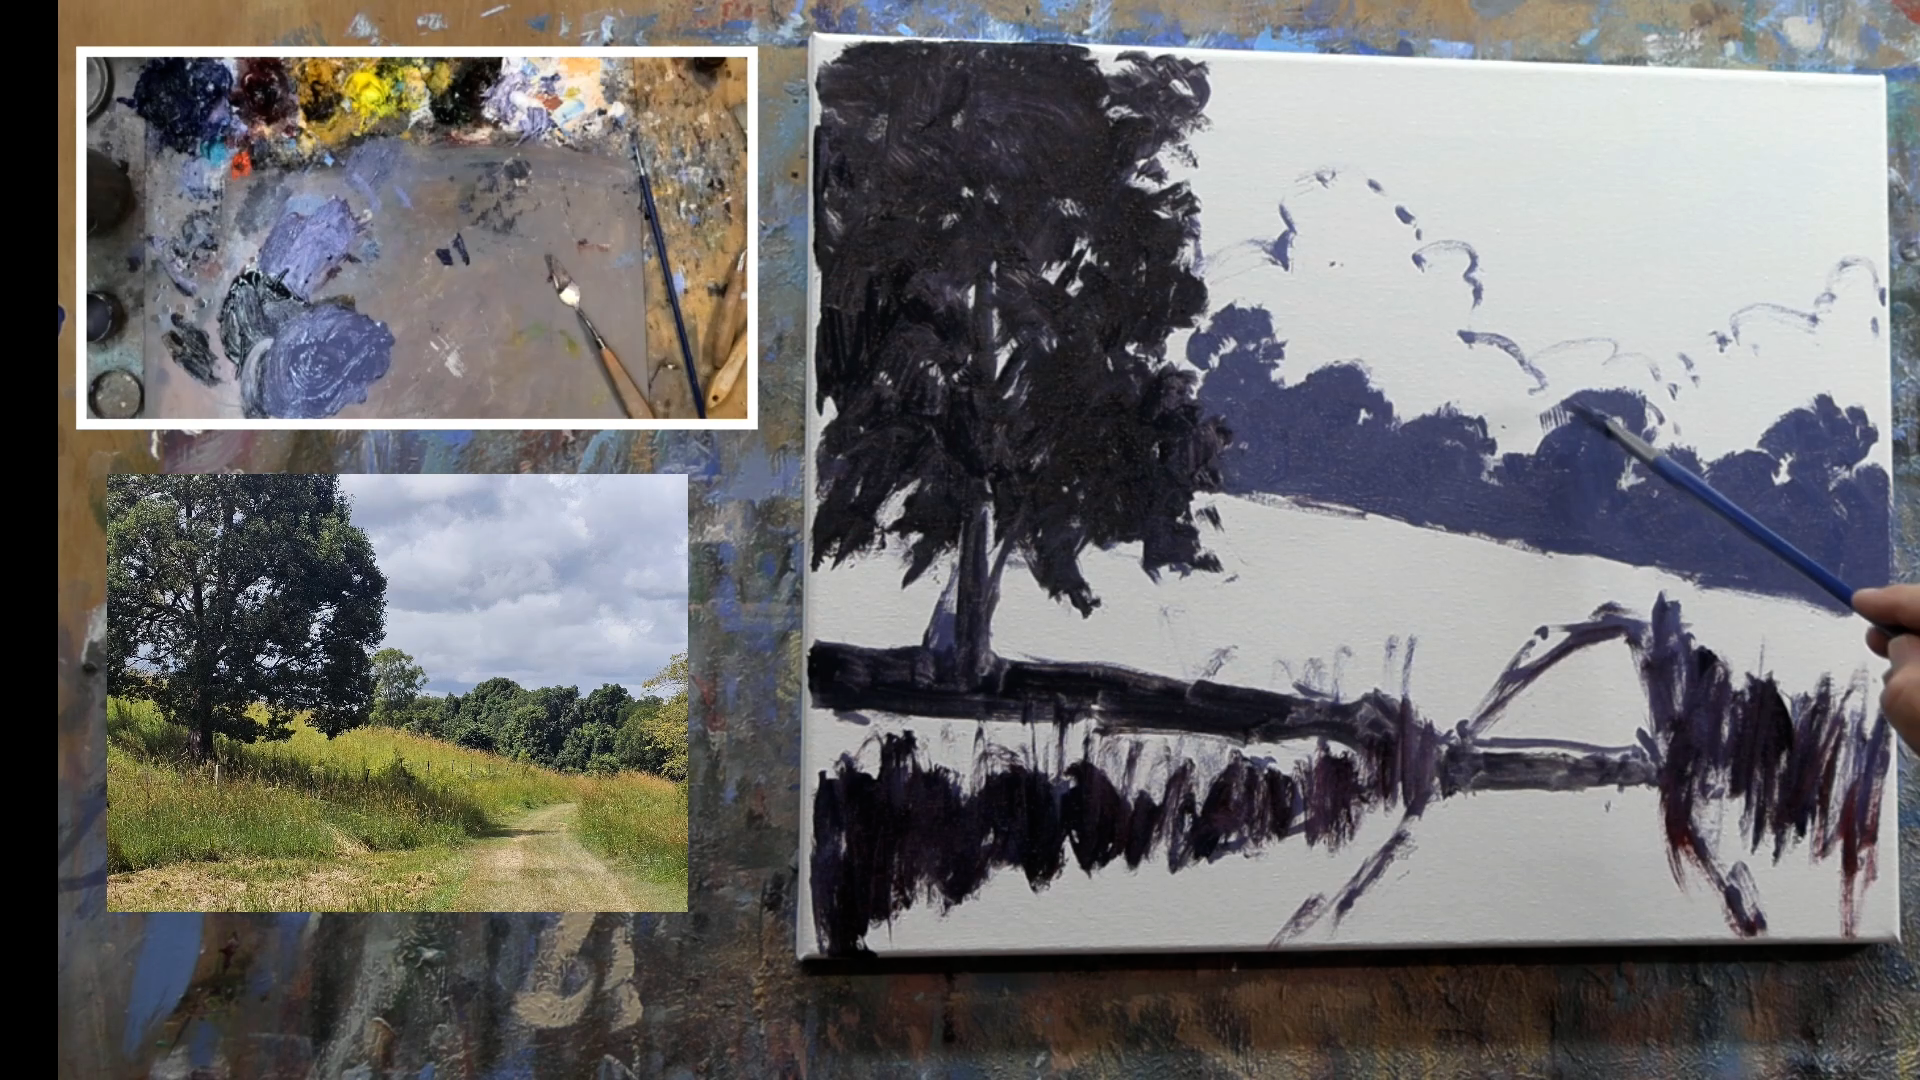
Step 4: Model the forms and build atmosphere
This is where your landscape starts to come alive. You develop the form of the trees, hills and clouds. You strengthen the light, adjust the colour temperature and create a feeling of depth and atmosphere. Keep checking the painting from a distance as you go.
Step 5: Refine, and know when to stop
Refinement doesn't mean adding detail everywhere. One of the marks of a developing painter is learning what to leave out. Put your sharpest edges, strongest contrast and few details where you want the viewer to look, and let other areas stay soft and simple.
Every detail should have a job to do. If it doesn't support your focal point or the feeling of light, it probably doesn't belong. Then put the brush down and step away.
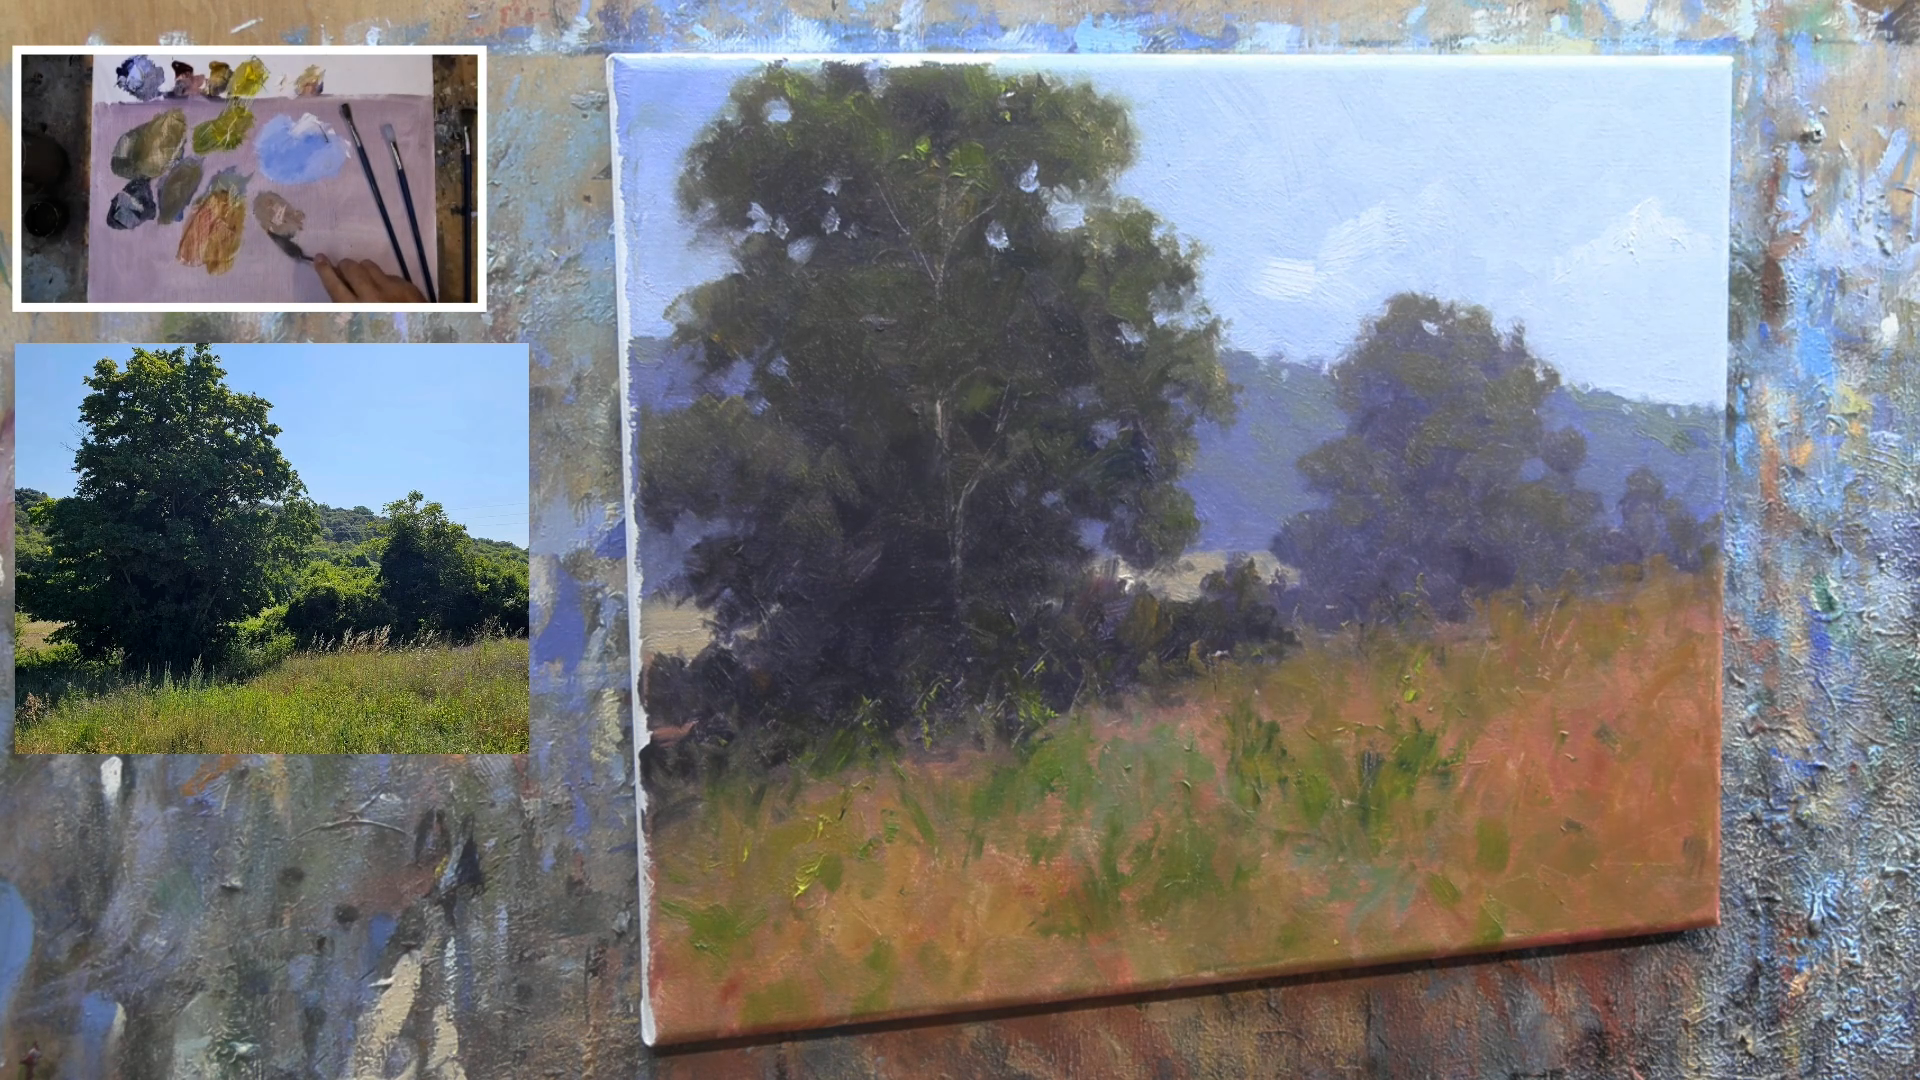
Five Keys to Depth and Atmosphere in Landscape Painting
Once you have the process, these five ideas will lift your landscapes from flat to full of space and light.
1. Values come first
Value simply means how light or dark something is. If your values are right, your painting will read, even when the colours are a bit off. Squint at your subject to see the big light and dark shapes more clearly.
2. Things fade into the distance
Look at distant hills on a clear day. They appear lighter, softer, cooler and less detailed than the trees right in front of you. This is called aerial or atmospheric perspective. Keep your strongest darks, warmest colours and sharpest details in the foreground, and let the background recede.
3. Warm and cool colour
Warm colours tend to come forward and cool colours tend to recede. Playing warm light against cool shadow is one of the simplest ways to make sunlight feel real in a painting.
4. Vary your edges
Not every edge should be sharp. Soft edges help shapes sit back into the atmosphere, while a few crisp edges near the focal point grab attention.
5. One clear focal point
Decide where you want the viewer to look and design the whole painting around it. Lead the eye there with shapes, contrast and light.
Common Landscape Painting Mistakes Beginners Make
Through years of teaching I've seen the same handful of issues come up again and again. The good news is that they're all easy to fix once you know about them.
Starting with the most interesting detail. Beginners often paint one tree or boat perfectly before the rest of the canvas is covered. Always work big to small.
Too many colours. More tubes usually means more muddy mixes. A limited palette gives you control and harmony.
Not enough paint. Tiny dabs of paint lead to thin, scratchy passages. Be generous.
Copying the photo exactly. Simplify, rearrange and leave things out to serve your idea.
Overworking. Brushing back and forth over the same area dulls your colours. Lay a stroke down with confidence and leave it.
Fiddling with detail too early. Get the block-in working first.
And remember, every "bad" painting is just a stepping stone to your next good one. My own first painting got packed into a box and hidden in the cupboard for years. You can read that story in My First Ever Painting.
What's the Easiest Landscape to Paint?
For your first few landscapes, choose scenes with just a few big shapes and a simple light pattern. Good starting points are:
A big sky over a low horizon. A field or paddock with a line of trees and dramatic clouds.
A simple beach scene. Sky, sea, sand and perhaps a headland.
Rolling hills. These are perfect for practising how colours fade into the distance.
A single tree in a field. It gives you one clear focal point.
Save complicated subjects like busy streetscapes, dense rainforest or lots of buildings until you're comfortable with the process.
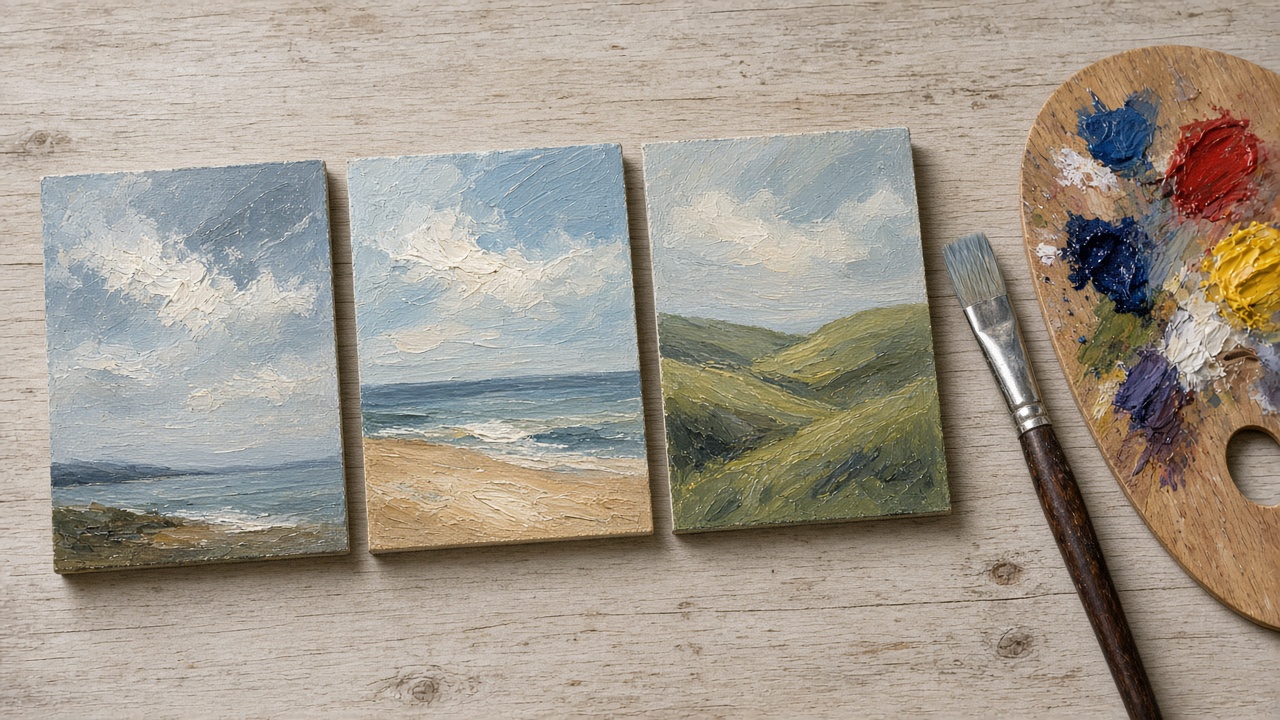
How to Keep Improving Your Landscapes
The key to learning to paint comes down to two things: knowledge of the basics, and practice. There is no substitute for having a brush in your hand.
A few suggestions:
Paint small and often. Several small studies will teach you more than one large painting you agonise over.
Repeat a subject. Paint the same scene two or three times and watch it improve.
Practise with intention. Focus on one thing per painting, such as values, edges or a better sky. I explain why this matters in The Benefits Of Intentional Practice.
Learn from the masters. Studying how the great painters handled light can transform your work. If you love the Impressionists, start with How To Paint Like The Impressionists.
Paint outdoors when you can. Painting from life teaches you to see colour and light in a way photos can't.
Frequently Asked Questions
Is landscape painting hard for beginners?
Landscape painting is one of the most approachable subjects for beginners. It feels hard when you try to paint every detail. When you follow a simple process (simplify into big shapes, block in the lights and darks, then refine), it becomes far more achievable. That's why my beginner courses start with landscapes.
What should a beginner paint first?
Start with a simple landscape or seascape with only a few big shapes: a sky, a horizon, a few trees or a headland. It teaches composition, values and colour mixing without overwhelming you.
Should I paint landscapes in oils or acrylics?
Either works. Oils and water-mixable oils stay wet longer, so blending is easier. Acrylics dry fast, which is handy for layering but means you need to work quicker. The process is the same in every medium, so choose the one you enjoy.
How do you paint a landscape step by step?
Choose a subject with a clear idea. Simplify it into big shapes and place them on the canvas. Block in the main values and colours with a large brush. Model the forms and build depth and atmosphere. Finish by refining only the areas that matter most.
How many colours do I need for landscape painting?
Fewer than you think. A limited palette of a few colours plus white is enough to mix a huge range of landscape colours. The Moore Method starts with just three colours.
How long does it take to get good at landscape painting?
Everyone learns at a different pace, but with regular practice and structured lessons most people see real progress within a few weeks to a few months. Consistency matters more than marathon sessions.
Your Next Step: Paint Your First Landscape With Me
If you'd like to put this into practice with step-by-step guidance, here are three ways to start:
The 5 Day Painting Challenge. This is my introductory course. It simplifies the whole painting process down to 3 colours, 3 brushes and 3 steps, and takes you from blank canvas to finished landscape.
Moore Method Monthly. This monthly painting club starts at Month One and gives you one full video painting project each month, plus four weekly photo/PDF challenges. It's US$29 a month.
The Moore Method of Painting 2.0. My 8-week online program takes you through simple landscapes, a seascape, aerial perspective and the painterly approach.
If you want everything (75+ courses and hundreds of painting projects), have a look at the Learn To Paint Academy.
Whichever path you choose, the most important step is the first one. As I always say: just have a go!