
The Moore Method of Painting
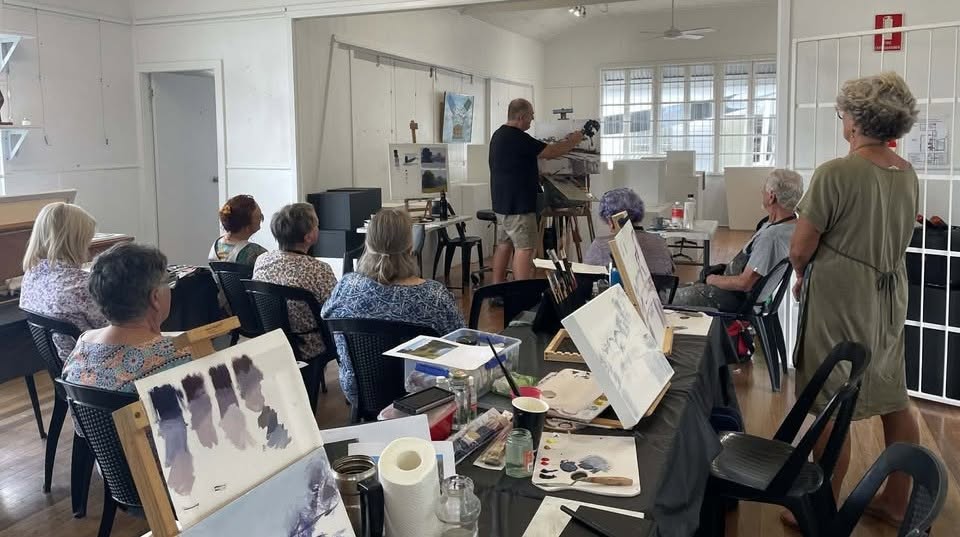
A Clear, Step-by-Step Process for Learning to Paint with Confidence
The Moore Method of Painting is a simple, structured approach to painting developed by Australian artist and painting instructor Rod Moore.
It was created specifically to help beginner and intermediate artists overcome the confusion, frustration and unnecessary complexity that so often comes with learning to paint.
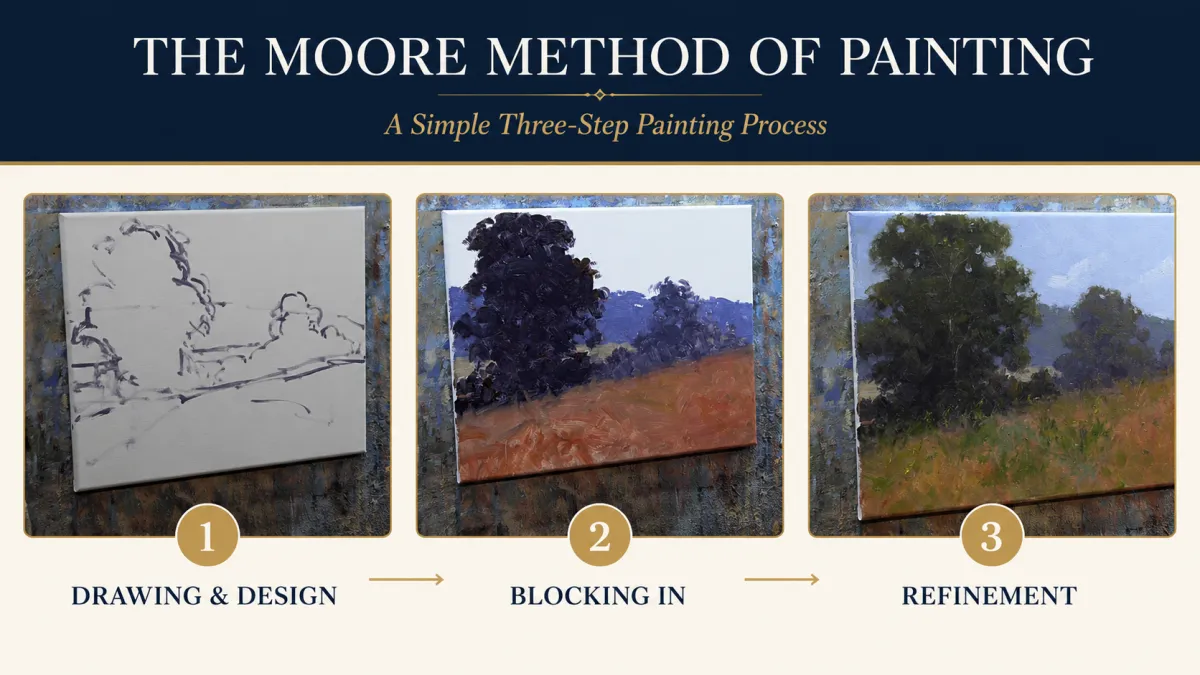
At its heart, the Moore Method simplifies painting down to:
* 3 Steps
* 3 Colours
* 3 Brushes
The original three-step framework gives you a clear process to follow from the moment you select your subject through to the final brushstrokes.
As your painting skills develop, the method can be expanded into five practical stages:
* Subject Selection
* Shapes and Placement
* Blocking In
* Modelling
* Refinement
These five stages do not replace the original three-step method. They simply provide a more detailed way of understanding what happens within each stage of a successful painting.
The objective is not to restrict your creativity.
It is to give you enough structure that you can stop worrying about what to do next and start enjoying the process of painting.
What Is the Moore Method of Painting?
The Moore Method of Painting is a repeatable process for taking a painting from a blank canvas to a finished result.
Rather than approaching every new painting as a completely different problem, you learn to follow the same underlying process each time.
You begin by selecting a suitable subject and identifying the main idea of the painting.
You then simplify the subject into its largest shapes, establish the composition and place those shapes accurately on the canvas.
Next, you block in the major value and colour relationships before developing the forms, atmosphere, light, colour temperature, brushwork and edges.
Only after those foundations are working do you move into the final refinements and smaller details.
This structured approach helps remove much of the guesswork from painting.
Instead of asking:
“Where do I start?”
Or:
“What should I do next?”
You have a dependable framework that guides you through the painting process one decision at a time.
The Quick Explanation
The Moore Method of Painting is a structured painting process developed by Rod Moore for beginner and intermediate artists.
The original method uses three steps, three colours and three brushes to simplify painting and reduce overwhelm.
The expanded method divides the painting process into five stages: selecting the subject, arranging the big shapes, blocking in the major values and colours, modelling the forms, and refining the finished painting.
It can be applied to landscapes, seascapes, still life, figurative subjects and many other genres using oils, acrylics, water-mixable oils or gouache.
Why Learning to Paint Can Feel So Difficult
Most people do not struggle with painting because they lack talent.
They struggle because they have never been given a clear process to follow.
A beginner walks into an art supply store and is confronted by dozens of colours, hundreds of brushes, different mediums, surfaces, palette knives, varnishes, easels and other products.
They go home with far more materials than they need, sit in front of a blank canvas and then face the most difficult question of all:
“What am I supposed to do first?”
Without a structured process, the beginner often starts with the most interesting detail.
They might begin with a tree, a building, a boat or a figure before establishing the overall composition.
They work on one small section while ignoring the relationship between the larger shapes.
They introduce too many colours, overmix the paint, lose control of the values and eventually create a painting that feels busy, flat or muddy.
The natural response is to assume:
“Perhaps I’m simply not talented enough.”
But talent is rarely the real problem.
The problem is usually unnecessary complexity and the absence of a dependable painting process.
That is the problem the Moore Method was developed to solve.
How the Moore Method Was Developed
I did not come to painting through a traditional art-school education.
I started painting as an adult beginner.
Like many people, I was enthusiastic, inspired and eager to create something worthwhile—but I had no real idea what I was doing.
I bought too many colours.
I collected more brushes than I knew how to use.
I watched different artists demonstrating completely different approaches and tried to combine them all.
Every painting felt like I was starting again from the beginning.
Sometimes a painting worked reasonably well, but I could not explain why. At other times, everything seemed to go wrong and I had no idea how to correct it.
The turning point came when I stopped looking for more techniques and started searching for a repeatable process.
I began simplifying.
I reduced the number of colours on my palette.
I limited the number of brushes I used.
Most importantly, I broke the painting process into a small number of logical stages that I could follow repeatedly.
This became the Moore Method of Painting.
I initially developed the method to improve my own work. I then began teaching it in workshops to complete beginners and intermediate painters.
The results showed me something important.
When students were given a clear process, they became less overwhelmed. They stopped trying to solve every painting problem at once. They could concentrate on one stage before moving to the next.
Students who had never painted before began completing paintings they were proud to take home. Painters who had been struggling for years began to understand where their process was breaking down.
The method has continued to evolve through approximately 15 years of painting, teaching, demonstrating and observing the difficulties faced by students.
Today, more than 120,000 people around the world have participated in Rod Moore’s courses, challenges, workshops and painting programs.
The central philosophy remains unchanged:
Painting is a learnable skill. When you simplify the process and follow a dependable method, you give yourself a much greater opportunity to succeed.
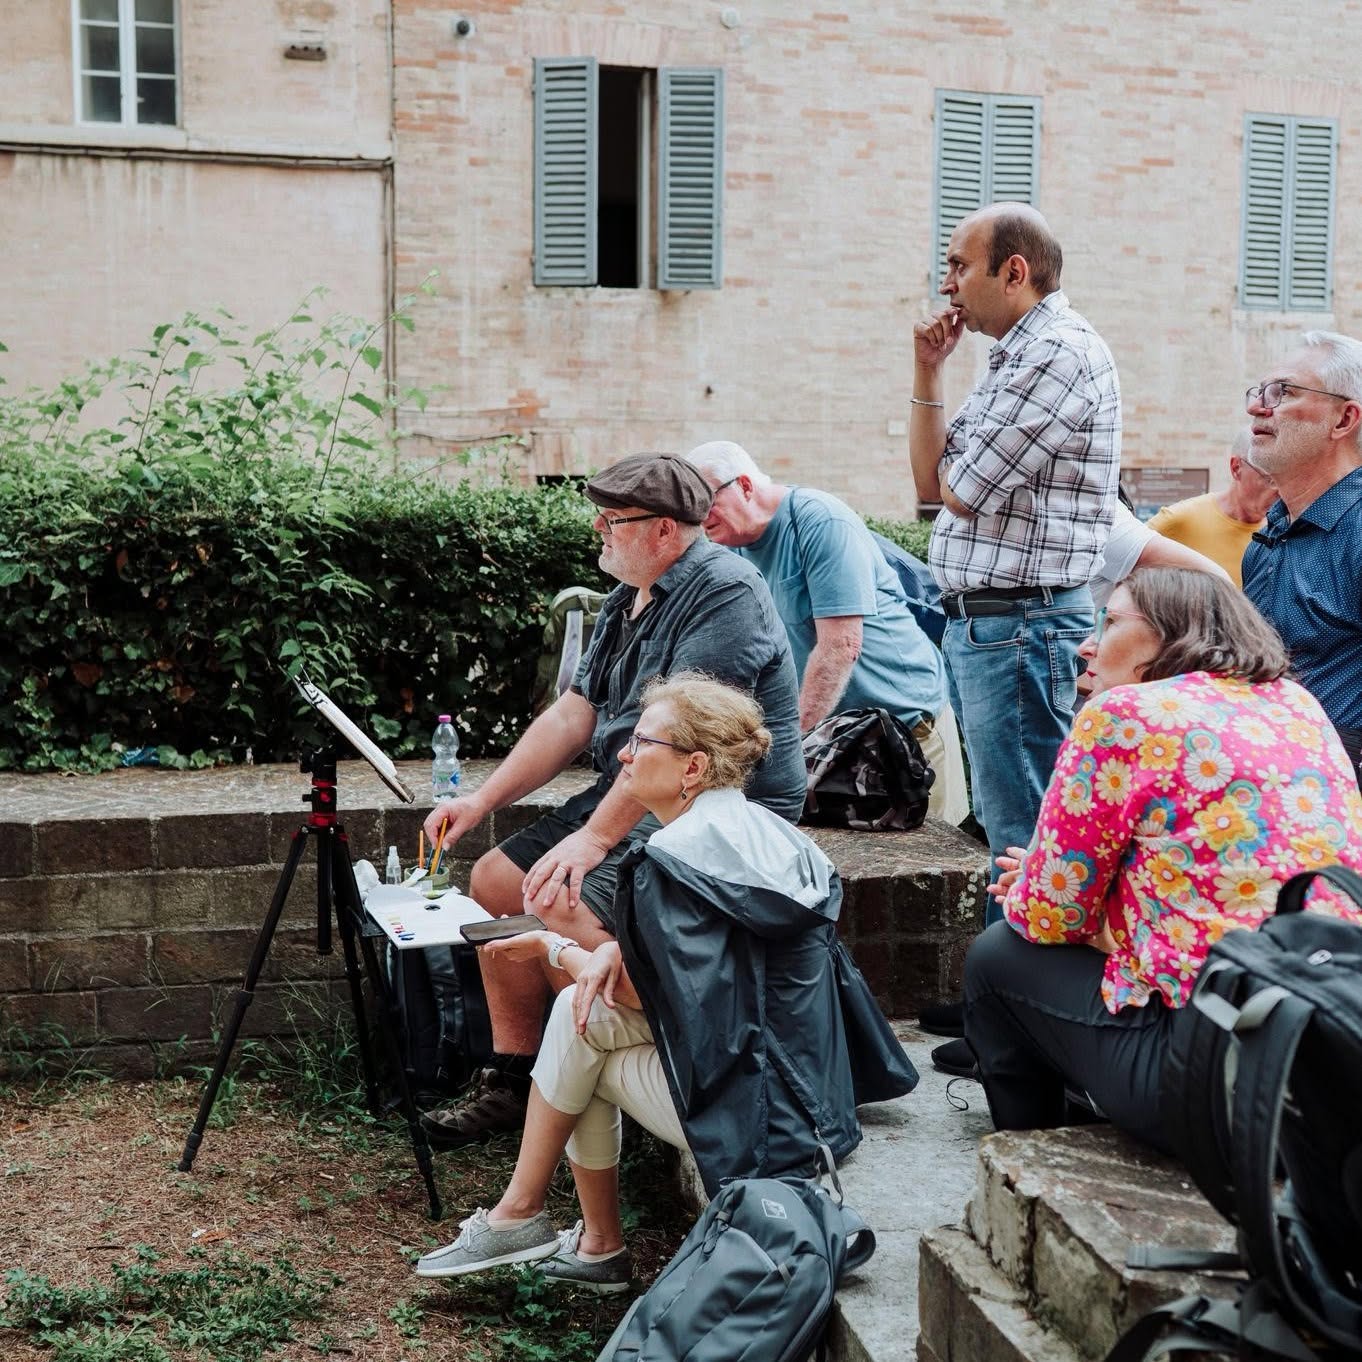
Rod Moore teaching the Moore Method in Umbria, Italy
"Painting is a learnable skill. When you simplify the process and follow a dependable method, you give yourself a much greater opportunity to succeed."
The Original Three Steps of the Moore Method
Step One: Drawing and Design
The first step is to establish the foundation of the painting.
This involves:
* Selecting a suitable subject
* Deciding what the painting is really about
* Planning the composition
* Identifying the dominant shapes
* Positioning those shapes on the canvas
* Checking proportions and relationships
* Establishing the major divisions of the painting
The word “drawing” can frighten beginners because they assume they must be accomplished draughtsmen before they can paint.
That is not what this stage requires.
You do not need to draw every leaf, wave, window or branch.
You are looking for the large shapes and their correct placement.
Where is the horizon?
How much of the painting belongs to the sky?
Where is the focal point?
What is the largest dark shape?
How do the shapes relate to one another?
At this stage, simplicity is more valuable than detail.
If the large shapes are well designed and properly placed, you have established a strong foundation for everything that follows.
Step Two: Blocking In
The second step is to cover the canvas with the major shapes, values and colour relationships.
The block-in is not the time for details.
Its purpose is to establish the overall visual structure of the painting.
During the block-in, you consider:
* The largest light and dark masses
* The general value pattern
* The dominant colour relationships
* Warm and cool areas
* Foreground, middle ground and background
* The direction and effect of the light
* The relationship between the major shapes
A good block-in should allow you to stand back from the canvas and see the painting beginning to emerge.
It may still look rough and unfinished, but the basic design, value structure and colour direction should already be present.
If the painting does not work at the block-in stage, adding detail will rarely save it.
This is why the Moore Method places so much emphasis on getting the large relationships working before moving forward.
Step Three: Refinement
The third step is to develop the painting from its broad foundation into a resolved work.
This is where you model the forms, strengthen the light, adjust the values, develop the colour temperature, vary the brushwork and decide which edges should be hard or soft.
Refinement may include:
* Developing form and dimension
* Improving the sense of depth
* Adjusting colour temperature
* Strengthening the focal point
* Varying edges
* Adding expressive brushwork
* Simplifying distracting areas
* Introducing selected details
* Placing final highlights and accents
Refinement does not mean adding detail everywhere.
One of the marks of a developing painter is learning what to leave out.
Every detail should have a purpose.
It should strengthen the subject, support the focal point, improve the sense of light or contribute to the overall feeling of the painting.
If a detail does none of those things, it may not belong.
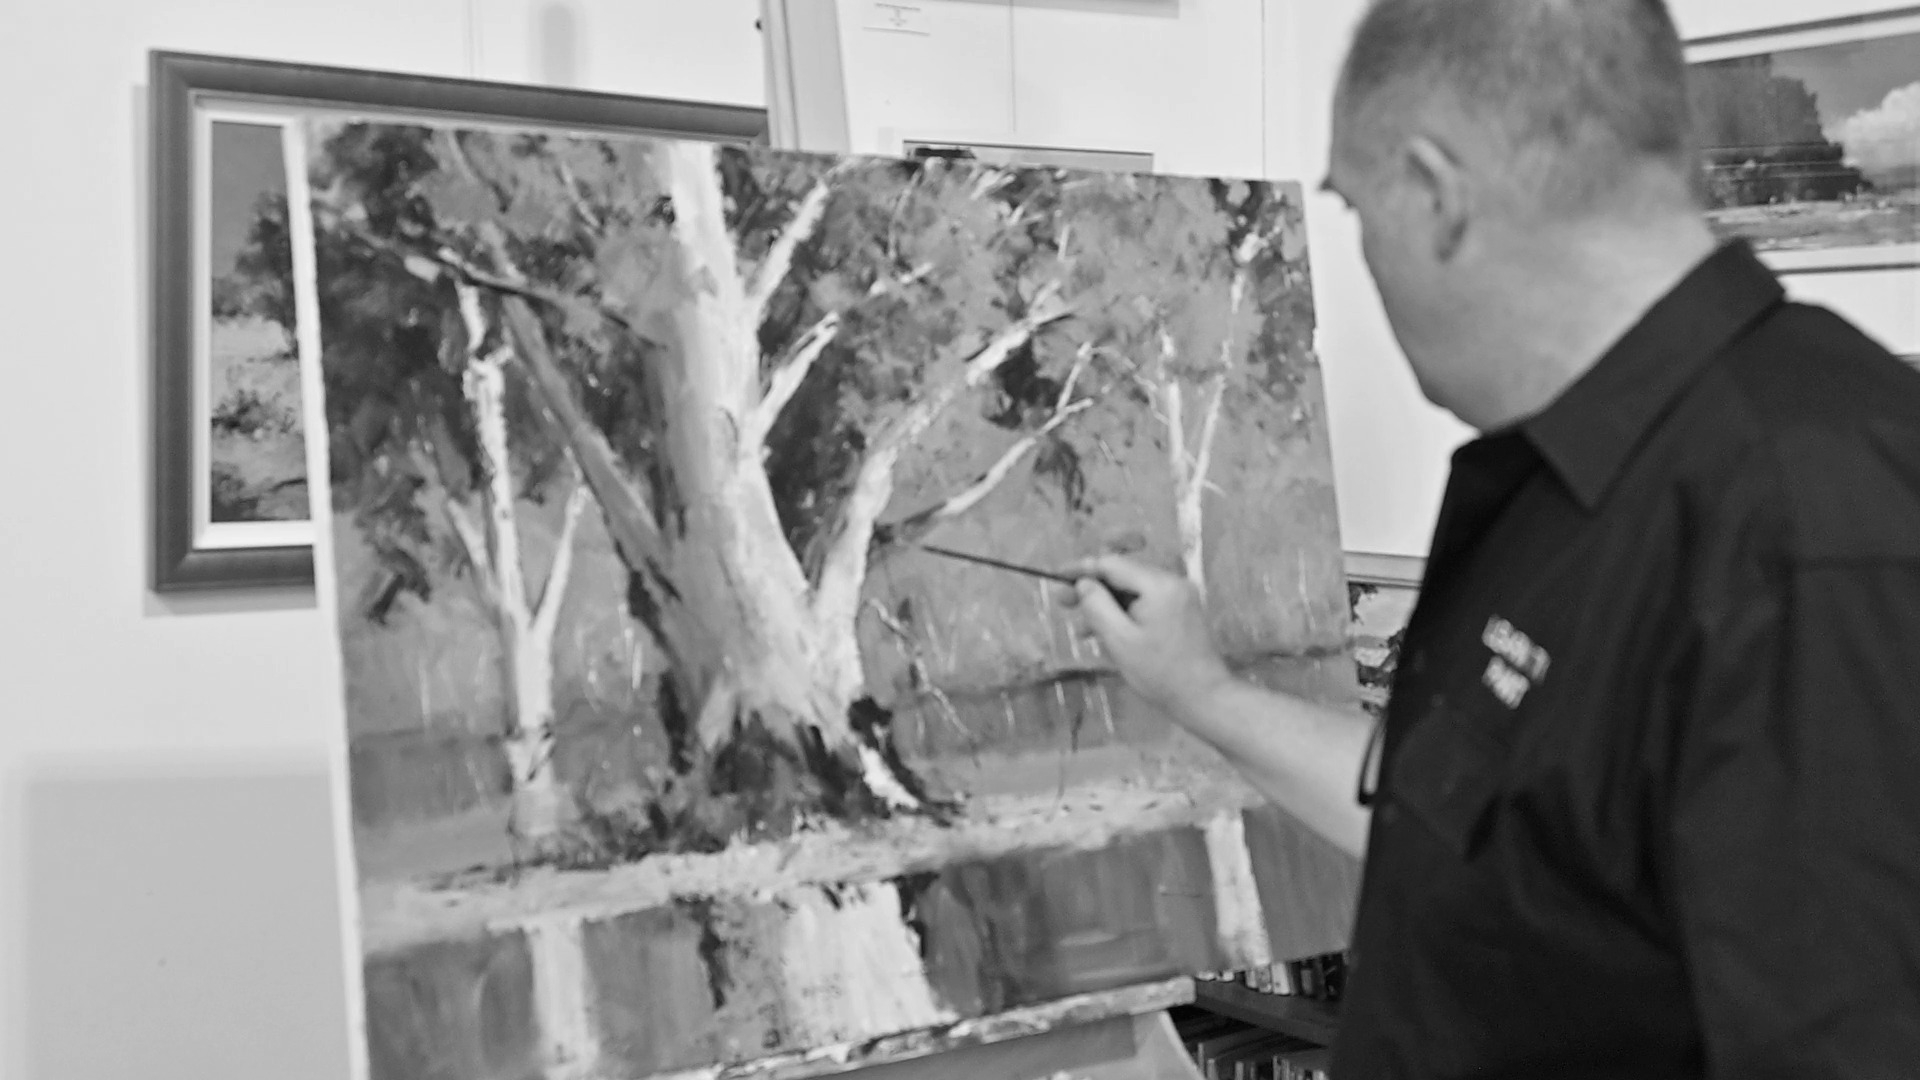
The Expanded Five-Step Moore Method
As students progress, the original three steps can be expanded into five more clearly defined stages.
This expanded approach makes it easier to diagnose where a painting has gone wrong and which skills need further development.
Stage One: Subject Selection
A successful painting begins before the brush touches the canvas.
Not every beautiful photograph or attractive view will automatically produce a strong painting.
The artist must learn to recognise subjects with good painting potential.
A suitable subject generally offers:
* A clear centre of interest
* Interesting light and shadow
* Strong large shapes
* A readable value pattern
* A sense of depth or atmosphere
* A dominant idea
* Opportunities for simplification
* An emotional or personal connection
Ask yourself:
“What is it about this subject that makes me want to paint it?”
* Is it the light?
* The atmosphere?
* The contrast between a dark headland and a bright sky?
* The reflections across the water?
* A figure moving through the landscape?
* An old building surrounded by open country?
Your answer identifies the central idea.
Once you know the idea, every later decision should support it.
Stage Two: Shapes and Placement
The second stage transforms the subject into a painting design.
Nature and photographs usually contain too much information.
Your job is not to copy everything you see. Your job is to organise the visual information into a small number of useful shapes.
Start by identifying:
* The largest shape
* The dominant dark mass
* The dominant light mass
* The horizon or major division
* The focal area
* Leading lines and visual pathways
* Foreground, middle-ground and background shapes
Then place those shapes on the canvas.
You may need to move, enlarge, reduce or remove elements from the reference.
This is not cheating.
It is painting.
The reference gives you raw material. The artist creates the design.
Stage Three: Blocking In
The block-in establishes the painting’s broad value and colour structure.
Work from large shapes toward smaller shapes.
Use larger brushes and avoid unnecessary details.
At this stage, ask:
* Are the darkest areas dark enough?
* Are the light areas being preserved?
* Is the focal point visible?
* Does the painting read from across the room?
* Are the major colours harmonious?
* Is there a clear separation between foreground and distance?
* Does the painting still support the original idea?
The block-in should remain flexible.
You are establishing relationships, not polishing finished passages.
Stage Four: Modelling
Modelling is where flat shapes begin to develop form, depth and atmosphere.
You move beyond the broad block-in and start describing how light moves across the landscape or subject.
This may involve:
* Introducing mid and light values
* Separating light from shadow
* Developing value transitions
* Adjusting warm and cool colour relationships
* Creating atmospheric perspective
* Turning forms through changes in value and temperature
* Strengthening the foreground
* Softening distant shapes
* Developing planes within trees, rocks, buildings, water or figures
Modelling requires restraint.
You still work from the larger forms toward the smaller ones.
The goal is to create convincing structure without losing the freshness and simplicity of the block-in.
Stage Five: Refinement
The final stage brings the painting to a considered conclusion.
You assess the entire canvas rather than becoming absorbed in one area.
Ask:
* Is the focal point strong enough?
* Are any secondary areas competing with it?
* Do the values hold together?
* Is there a clear sense of light?
* Are the edges varied?
* Does the brushwork suit the subject?
* Is the foreground sufficiently developed?
* Is the distance soft enough?
* Are there unnecessary details?
* Does the painting still express the original idea?
Refinement is often as much about removing as adding.
You might soften an edge, simplify a shape, scrape back an area or paint over a distracting detail.
The final accents should be selective.
A few well-placed highlights, dark accents or confident marks can bring the painting to life. Too many can weaken the overall effect.
The painting is finished when the central idea has been clearly expressed—not when every possible detail has been included.
Why the Method Begins with Three Colours
One of the most distinctive principles of the Moore Method is the use of a limited palette.
Beginners often assume that more colours will make colour mixing easier.
In practice, the opposite is frequently true.
A large palette introduces more decisions and more opportunities to create uncontrolled mixtures.
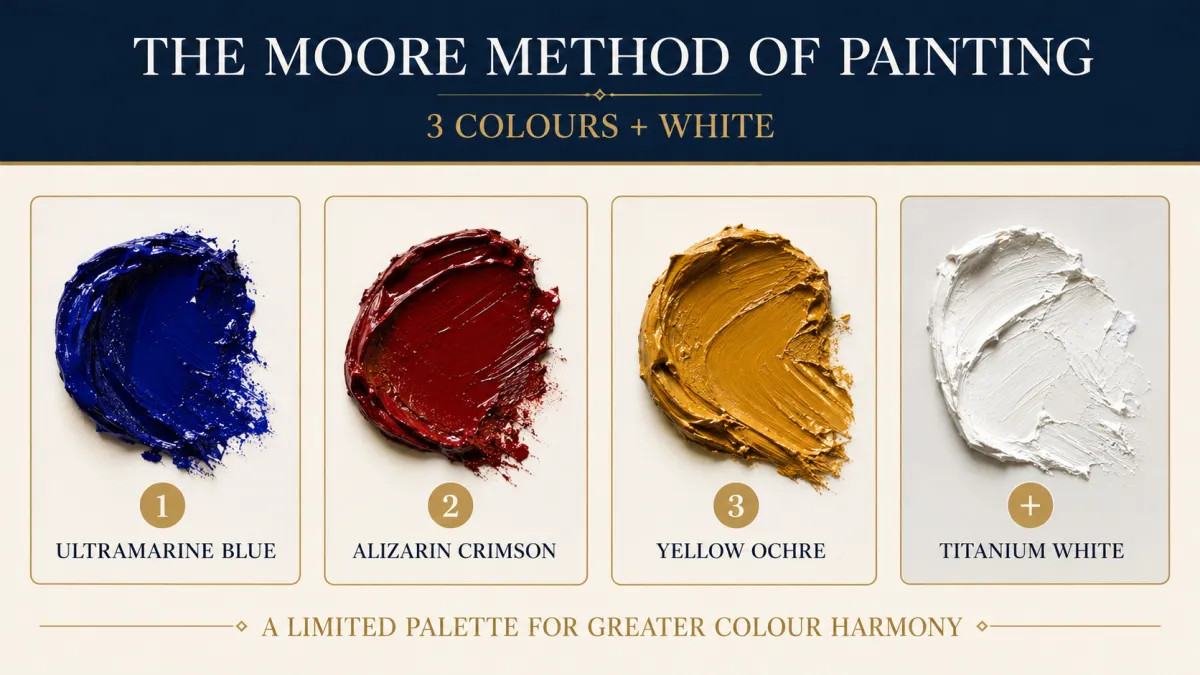
The Moore Method traditionally begins with:
* Ultramarine Blue
* Alizarin Crimson
* Yellow Ochre
* Titanium White
A brighter yellow, such as Lemon Yellow or Cadmium Yellow Light, can be introduced as a booster colour when a wider range of greens or brighter mixtures is required.
From this limited palette, you can learn to mix:
* Greens
* Oranges
* Violets
* Greys
* Browns
* Chromatic darks
* Warm and cool neutrals
* A broad range of light and dark colour steps
The aim is not to suggest that these are the only colours an artist should ever use.
The aim is to teach colour relationships.
With a limited palette, you begin to understand:
* Which pigments make a green warmer or cooler
* How complements reduce saturation
* How to mix colourful darks
* Why adding white changes more than value
* How colour temperature creates depth
* How a restrained palette produces harmony
* Why some mixtures become muddy
Once you understand those relationships, you can add other colours intelligently rather than randomly.
Fewer colours at the beginning can ultimately give you greater command of colour.
Use Just A Handful Of Brushes
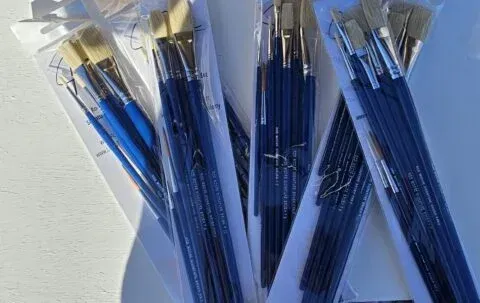
Rod Moore Signature Brush Set
The same principle applies to brushes.
You do not need dozens of brushes to produce a successful painting.
The Moore Method encourages students to begin with three basic brush roles:
* A larger flat brush for broad shapes and initial coverage
* A medium flat brush for developing forms and controlled marks
* A rigger or liner brush for selective accents and refinements
Limiting the number of brushes encourages you to learn what each brush can do.
You begin to experiment with:
* The broad side of the brush
* The narrow edge
* The corner
* Different amounts of pressure
* Dry-brush effects
* Thick and thin paint
* Broken marks
* Long, fluid strokes
* Short, energetic strokes
A brush is not merely a tool for filling in shapes.
It is a mark-making instrument.
As your confidence develops, you may introduce palette knives, scrapers and other brushes. But you do so because you understand the mark you want—not because you are searching for a tool to solve an unclear painting problem.
The Fundamentals Within the Moore Method
The Moore Method provides the process, but the fundamentals provide the knowledge required to make good decisions within that process.
The essential fundamentals include:
Subject Selection
Learning to recognise subjects with a clear idea, strong shapes, useful value patterns and good painting potential.
Composition and Design
Organising the visual elements so the painting has balance, movement, emphasis and a strong focal point.
Big Shapes and Placement
Simplifying complex subjects into a small number of interlocking shapes and placing them accurately on the canvas.
Drawing
Understanding proportions, angles, relationships and perspective without becoming trapped in unnecessary detail.
Values
Seeing and controlling the relative lightness and darkness of every colour and shape.
Colour Mixing
Learning how pigments interact and how to mix the colour you need intentionally.
Colour Temperature
Using warm and cool relationships to create light, atmosphere, harmony and depth.
Brushwork and Mark-Making
Making deliberate marks that describe the subject while contributing energy and expression.
Edges
Controlling where shapes appear hard, soft, lost or broken so you can create depth and direct attention.
Refinement
Knowing what to strengthen, what to simplify, what to remove and when to stop.
The method and the fundamentals work together.
A method without knowledge can become mechanical.
Knowledge without a method can become confusing.
When you combine both, you have a practical framework for continuous improvement.
What Mediums Can Be Used?
The Moore Method is not restricted to one painting medium.
The underlying process can be applied to:
Acrylic Painting
Acrylics are accessible, versatile and relatively easy to clean up. Their faster drying time suits a structured process where one stage can dry before the next is applied.
Traditional Oil Painting
Oils offer longer working time, rich colour, flexible blending and expressive surface qualities. The Moore Method helps oil painters avoid losing control during extended wet-into-wet development.
Water-Mixable Oil Painting
Water-mixable oils provide many of the handling qualities of traditional oil paint while reducing the need for traditional solvents.
Gouache Painting
Gouache can be used for smaller works, travel studies and colour exercises. Its opaque nature makes many of the method’s value and shape principles directly applicable.
The materials may behave differently, but the core questions remain the same:
* What is the idea?
* What are the big shapes?
* Where are the main values?
* How is the light working?
* What should be emphasised?
* What should be simplified?
Is the Moore Method Only for Beginners?
The Moore Method was created to make painting more accessible to beginners, but it is not limited to beginners.
A beginner benefits from the clarity of knowing what to do first, second and third.
An intermediate painter can use the expanded five stages to diagnose inconsistencies and improve individual skills.
An experienced painter may move through the stages more intuitively, but the underlying decisions remain present.
Professional artists still select subjects, design compositions, organise shapes, establish values, develop forms and refine their paintings.
Experience does not eliminate the process.
It makes the process more fluent.
Can the Moore Method Help You Paint More Loosely?
Yes.
Loose painting does not come from abandoning structure.
It comes from understanding structure well enough that you can express it with fewer, more confident marks.
Painters often become tight because they are uncertain.
They slowly describe every object because they do not trust the larger shapes.
They repeatedly adjust passages because the underlying values or composition were never resolved.
The Moore Method encourages you to:
* Establish the design first
* Work from large shapes to smaller shapes
* Use fewer colours
* Begin with larger brushes
* Preserve the block-in
* Develop only what supports the idea
* Vary the edges
* Leave selected areas understated
* Stop before the painting becomes overworked
* Structure gives you the confidence to become more expressive.
From Head Knowledge to Canvas Knowledge
Reading about painting can give you valuable head knowledge.
You can understand the definitions of composition, values, colour temperature, edges and brushwork.
But understanding an idea intellectually is not the same as being able to apply it naturally on the canvas.
Canvas knowledge develops through deliberate practice.
You select a subject.
You work through the stages.
You complete the painting.
You assess what worked and what did not.
Then you repeat the process.
Each completed painting provides feedback.
Over time, decisions that once required considerable thought begin to become more intuitive.
You start recognising strong subjects more quickly.
You see the large shapes more clearly.
You identify incorrect values earlier.
You mix colours with greater purpose.
You know when an edge needs softening.
You become more confident about what to leave out.
This is why the method must be practised rather than merely understood.
You learn painting by painting.
Common Problems the Moore Method Helps Solve
“I Don’t Know Where to Start”
Begin with the subject, the central idea and the largest shapes.
Do not begin with details.
“My Painting Looks Flat”
Check the value structure, the separation between light and shadow, and the warm and cool relationships between foreground and distance.
“My Colours Keep Turning Muddy”
Reduce the number of pigments, clean your brushes, mix intentionally and establish the correct value before chasing exact colour.
“My Painting Is Too Tight”
Use larger brushes, simplify the subject, preserve the large shapes and avoid describing every object equally.
“My Paintings Feel Busy”
Strengthen the hierarchy. Decide what is important, reduce competing details and simplify areas outside the focal point.
“I Can Copy a Tutorial but Cannot Paint My Own Subject”
Use the five-stage method to analyse your own reference rather than copying another artist’s individual brushstrokes.
“I Never Know When the Painting Is Finished”
Return to your original idea. If the idea is clearly expressed and further additions no longer improve it, the painting may already be finished.
The Moore Method in Practice
Imagine you have selected a reference photograph of a coastal headland with a bright sky, dark cliffs and waves moving toward the shore.
Subject Selection
You decide the painting is about the contrast between the illuminated sky and the dark headland.
Shapes and Placement
You simplify the image into the sky, distant headland, foreground water and a small number of wave shapes.
You adjust the horizon and position the headland so it supports the composition.
Blocking In
You establish the large sky value, the dark headland, the general water colour and the dominant wave patterns.
You avoid foam, rocks and small details.
Modelling
You develop the planes of the headland, create atmospheric distance, model the waves and introduce warm and cool variations in the water.
Refinement
You strengthen selected highlights, soften distant edges, sharpen a few marks near the focal point and remove anything that competes with the main idea.
The same process can be applied to a rural landscape, still life, street scene, figure, boat, building or garden.
The subject changes.
The underlying process remains dependable.
Real Students, Real Progress
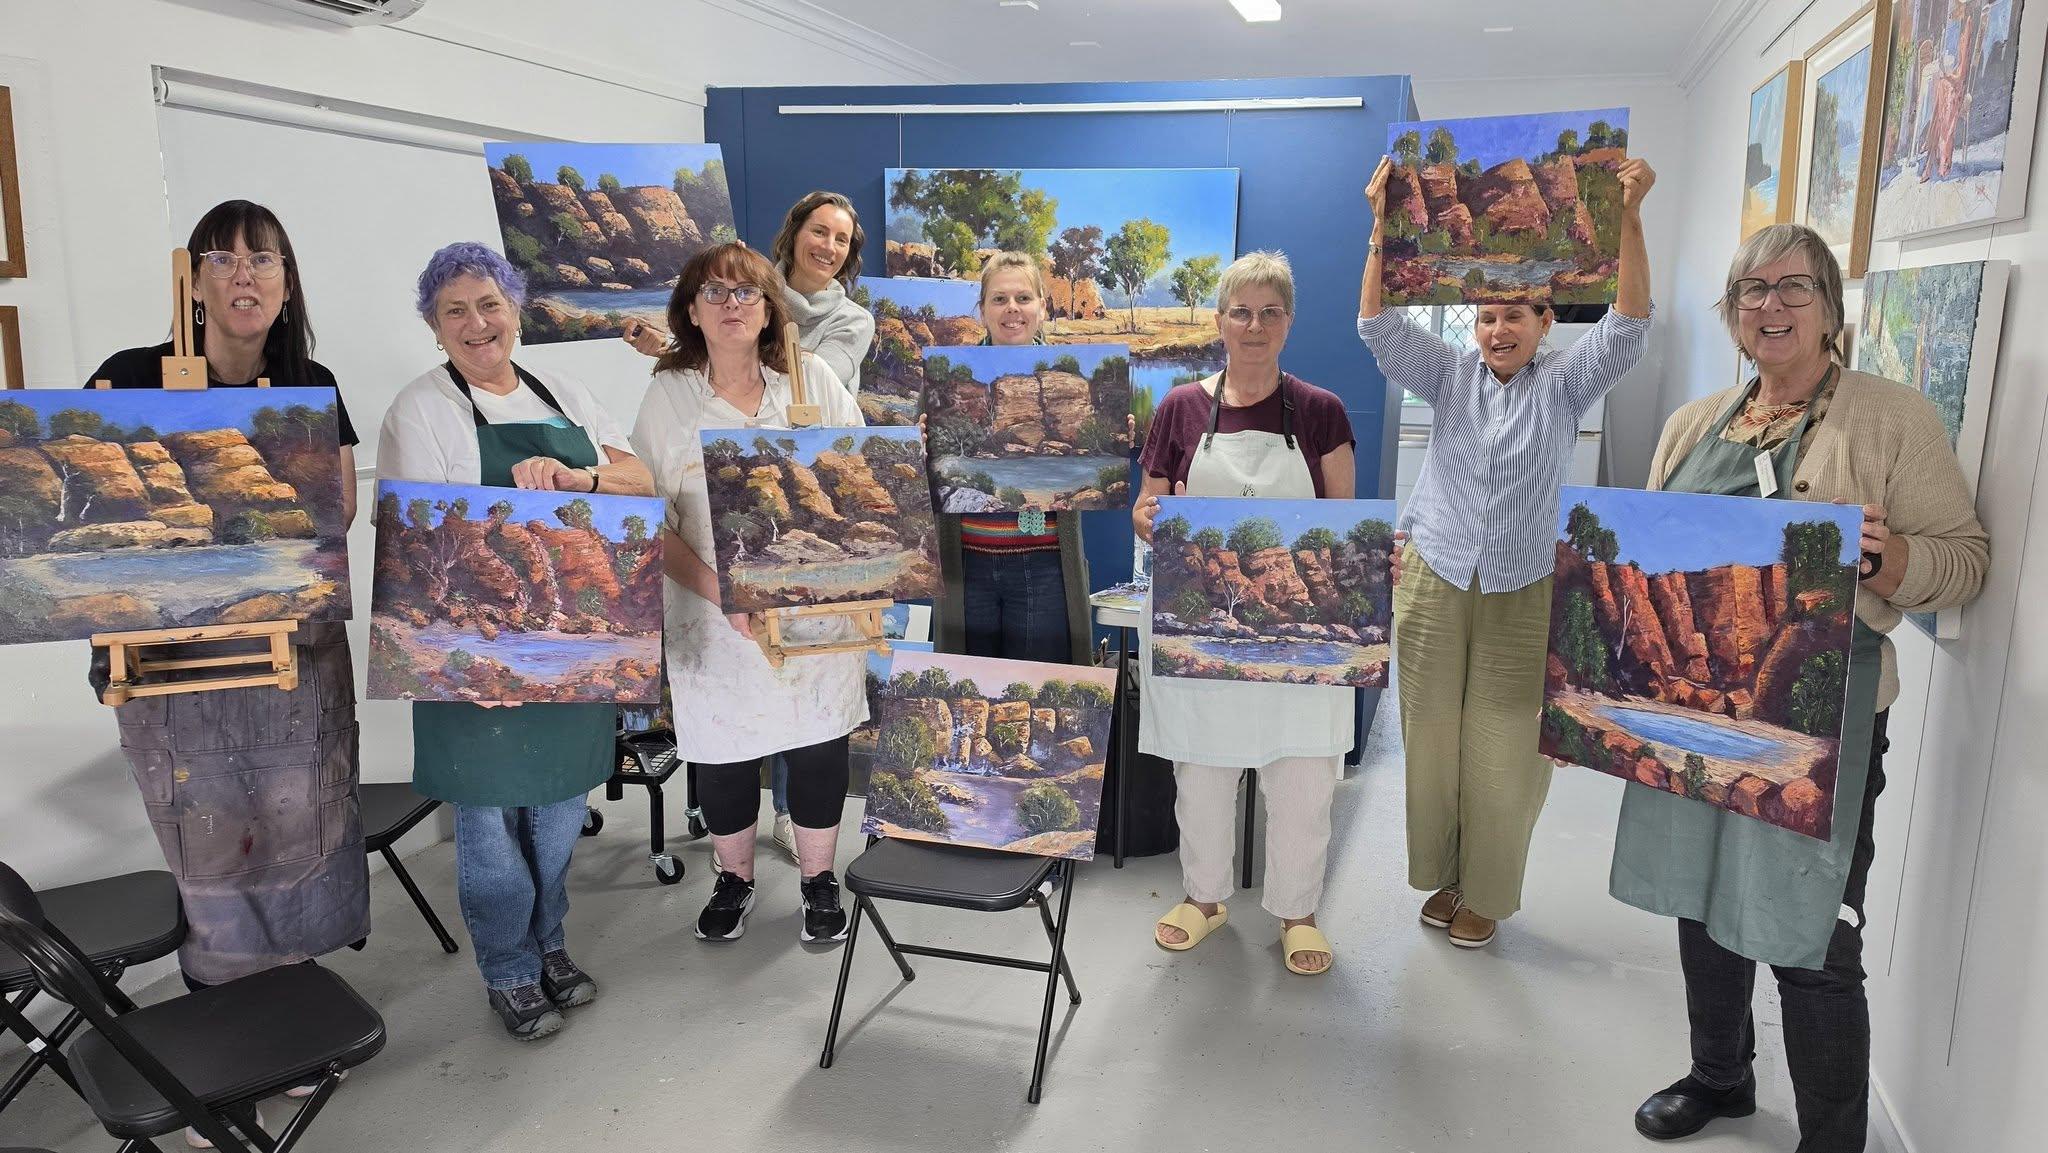
The Moore Method has been taught through online painting courses, live challenges, studio workshops and international painting programs.
Many students begin believing they have no artistic talent.
They are often surprised to discover that their problem was not a lack of potential. They simply needed a clear starting point, a manageable palette and a process they could repeat.
The most meaningful progress does not come from completing one perfect painting.
It comes from becoming increasingly capable of starting, developing, assessing and finishing your own paintings.
That is the real purpose of the Moore Method.
Check out what our members have to say:
Read Reviews From Hundreds of Students
Check Out Our Workshop Gallery
The results speak for themselves.
Frequently Asked Questions
What is the Moore Method of Painting?
The Moore Method of Painting is a structured process developed by Australian artist and painting instructor Rod Moore. It simplifies painting into three steps, three colours and three brushes, with an expanded five-stage process for more detailed study.
What are the original three steps?
The original three steps are drawing and design, blocking in, and refinement.
These take the painting from the initial idea and composition through the major value and colour masses to the finished result.
What are the five expanded stages?
The expanded stages are:
Subject Selection
Shapes and Placement
Blocking In
Modelling
Refinement
These stages provide a more detailed explanation of the decisions contained within the original three-step framework.
Why are there both three-step and five-step versions?
The original three-step process keeps painting simple for beginners.
The five-stage version expands the same process so developing artists can study individual decisions more thoroughly. It is an expansion of the method, not a contradiction or replacement.
What colours are used?
The traditional Moore Method palette begins with Ultramarine Blue, Alizarin Crimson, Yellow Ochre and Titanium White.
Lemon Yellow or Cadmium Yellow Light may be introduced as a booster colour when brighter mixtures are needed.
Do I have to use only three colours forever?
No.
Beginning with three colours teaches you how pigments relate, how to mix secondary colours, how to create chromatic darks and how to produce harmony.
Additional colours can be introduced as your knowledge develops.
What brushes do I need?
You need a larger brush for broad shapes, a medium brush for development and a smaller brush for selected refinements.
The principle is to learn how to make varied marks with a small number of useful brushes before expanding your collection.
Can complete beginners use the Moore Method?
Yes.
The method was developed specifically to make the painting process more understandable for beginners. It is also useful for intermediate painters who need greater consistency and structure.
Do I need to be good at drawing?
You do not need advanced drawing skills to begin.
You need to learn how to recognise, measure and place the large shapes. Drawing ability will develop through continued observation and practice.
Can I use acrylic paint?
Yes. The Moore Method can be used with acrylics, traditional oils, water-mixable oils and gouache.
Is it only for landscape painting?
No.
The method is often demonstrated through landscapes and seascapes because these are popular with students, but the underlying process can be applied to still life, figures, interiors, streetscapes and many other subjects.
Will the method help me develop my own style?
The method provides structure rather than prescribing a single visual style.
As your skills grow, you make increasingly personal decisions about subjects, colour, brushwork, edges, texture and expression. Your artistic voice develops through those repeated decisions.
How long does it take to learn?
You can understand the basic process relatively quickly, but applying it confidently requires regular practice.
Painting is a practical skill. Progress comes from completing paintings, assessing the results and applying what you learn to the next canvas.
Start Learning the Moore Method of Painting
If you have always wanted to paint—or if you have been painting for some time but feel frustrated with your progress—the Moore Method can give you a clearer path forward.
You do not need dozens of colours.
You do not need a studio full of equipment.
You do not need to wait until you feel talented enough.
You need a clear process, the right foundational knowledge and the willingness to have a go.
Start simply.
Follow the steps.
Complete the painting.
Learn from it.
Then begin the next one.
That is how painters develop.
Happy painting!
Rod Moore
Australian Contemporary Impressionist Artist
Creator of the Moore Method of Painting
Founder of the Learn To Paint Academy
MOORE ART ENTERPRISES PTY LTD
PO BOX 85, POMONA QLD 4568
ACN: 640 753 617ABN: 20640753617